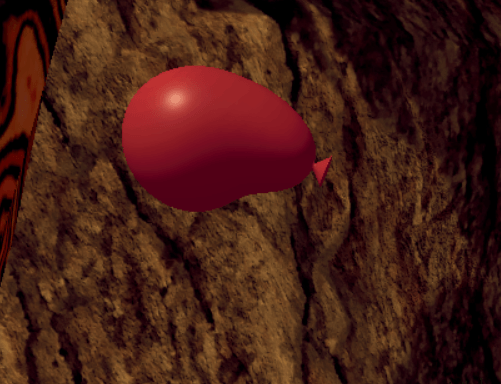
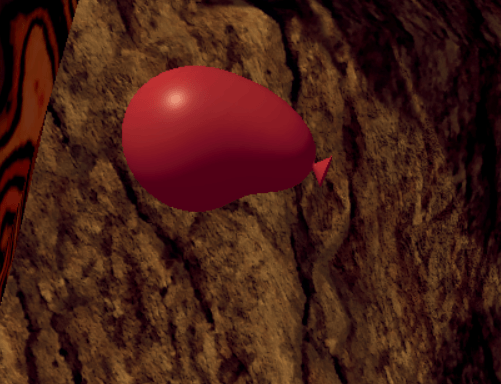
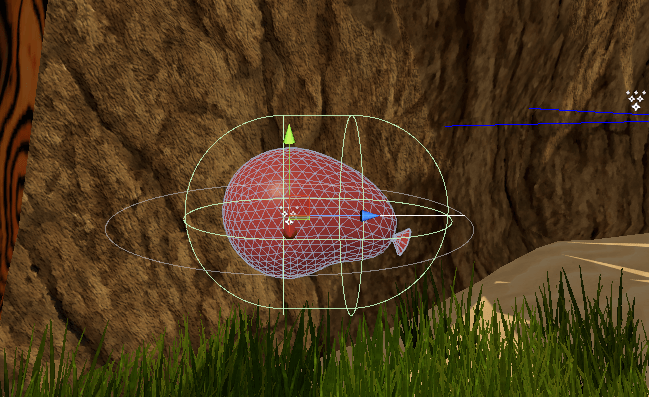
Auggo Doggo | Walkthrough | VR Util

Jiggly Balloons


Focal Points - Game polish

In any art-form, it's important to identify a focal point and spend extra time adding an appropriate amount of detail and work to it in order to bring life and personality to your project. In game development we call this "polish". You can polish every little part of your project until your eyes bleed but it's not going serve much purpose if you don't spend most of your time working on the foundations of your game. If you finish a piece of code and you're sure that it's not going to change much throughout the remainder of the game, you can polish early. Otherwise, try to put it off as long as you can. There are going to be times where you're going to toss entire game mechanics. It's obviously better not to polish those pieces until you've decided. It's all about timing, and no one is perfect at that, but everyone gets better with experience.

In VR, the focal points are usually objects you're able to pick up, or characters that interact with you. To make the player feel like there is something deeper than a flat lifeless 3D model, you should add animations, interaction scripts, and haptic feedback(controller vibration)*. For example, seeing swords collide with "clanking" sounds and physics is one thing, but to feel your sword grinding against a metal surface (or the increasing tension in your bowstring) is on another level. It's the layer of feedback that pushes you over the edge, where you allow yourself in a certain respect, to believe the ruse.


What is important in a VR water balloon?

When you shake a balloon it should jiggle, it should deform from the water sinking on one side or the other based on gravity and how the player is tilting it, and it should pop in a satisfying way. Water balloons are satisfying to pop. Keep that in mind when you're designing things based on 'satisfying feelings', what is it that is satisfying, what is supposed to be enjoyable about this thing?

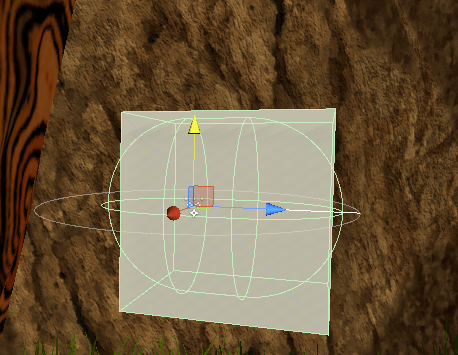
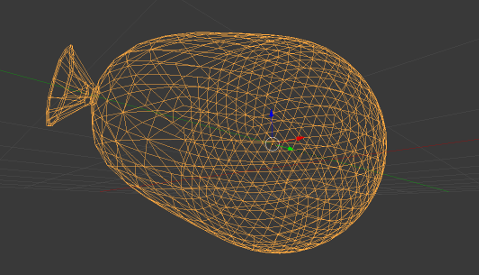
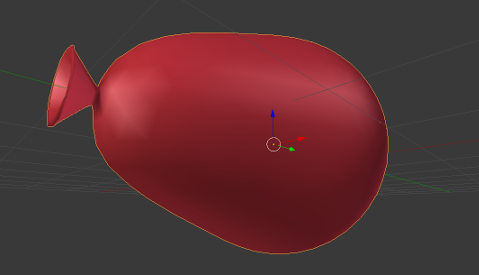
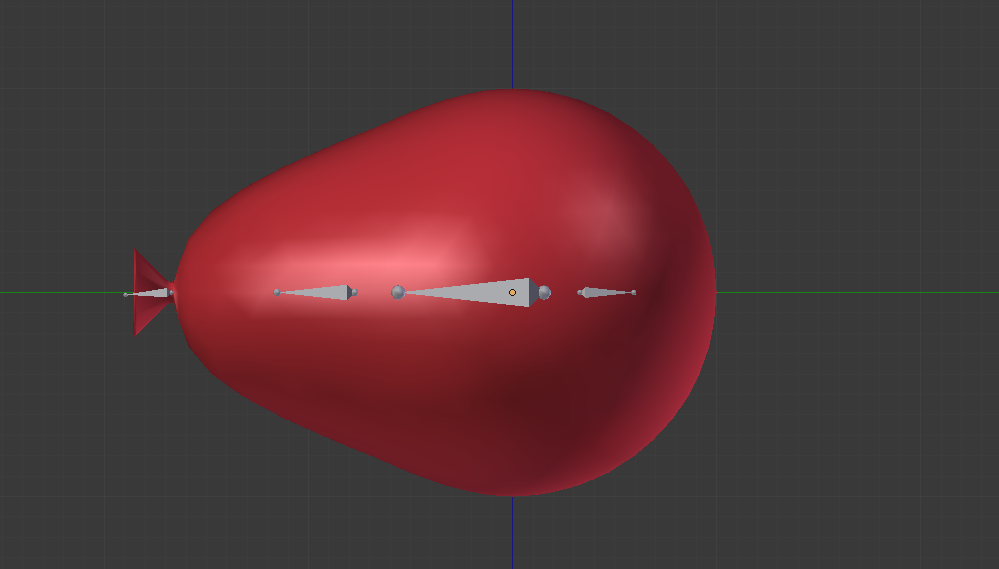
In this section I'm going to walk you through the parts of the water balloons in Plunker in 3 sections.

  • Creating the model, animations, and particle effects
  • Interaction with the SteamVR Plugin for holding/sloping/jiggling
  • Pop, respawn, throw, and deal damage to other objects


Creating the look

A quick note before we begin:

Notice that everything we're doing is basically polish, but when I was first creating this balloon mechanic I grey-boxed everything first. "Grey-boxing is the traditional technique of blocking out the level with simple shapes to see if the level design supports the gameplay before creating the final art assets for the level". If you end up not liking how the scripts and interactions turn out, this is where you may decide to toss something. Try to always grey-box things first (or make very quick minimal models if you feel like you need to).


When beginning this balloon mechanic, I first thought of it as an interactive object which means that it has multiple states and transitions between them. The model we're creating below is what you hold and throw, most of the time it will be "popped" or basically non existent. We can talk more about the transitions and states in the 2nd section since they are mostly code. But just keep in mind that I'm only walking through this section first because it's more visually appealing for the walkthrough.


Making the model

If you're not familiar with 3D modeling, it's not the end of the world, although it is a major limiting factor on your indie-dev life. I've toyed around with Blender (a free 3D modeling program) for about 3 years. It's fairly easy to learn how to make geometric or simple objects and I highly suggest making it a priority to understand the basics of 3D modeling. There isn't otherwise much to be said about this model. It's simple. One thing I might make note of is how many vertices this mesh has (around 750). If the balloon were a side object on a shelf or otherwise, I may have used less verts, but since it's going to deform, and it is a focal point of this section in Plunker, it's nice to have more.


Bones and animations

Rigging is a term in game development that refers to adding bones to a 3D model. If you're not familiar with rigging, this is another important point I would highly suggest committing some time and energy into. You won't need to learn to the extents that I have, but if you have a basic understanding then you'll be able to work well on a team and communicate with artists on a better level.


One notable thing you can see in this picture is how small the bones are. The ends don't even touch. This is because I'm mostly using automatic weighting and if the bones are smaller, the edges are more evenly weighted around the bone. This makes for easy animation when we need a body of water to jiggle around a central point. You can make animations in blender, but you'll want to use Mechanim© in Unity to fine tune things. Either way its just a matter of making the bones scale and rotate in a way that looks satisfying. Once you've got that done, you'll have a pretty juicy looking balloon.

Particle System

We'll want to create a popping animation to transition between a "thrown state" and a "popped state". The popped state won't have anything rendered at all, we'll just pretend that the water and the remaining rubber flew everywhere. The unity particle system is great for making animations like this, and it's usually necessary if you want to polish your game. There are several layers to our "sploosh" animation. There's the spray of water as it mists into the air, as well as the thicker explosion of water near the center. There's also a very quick flash of red balloon rubber. If you'd like to learn more about making particle systems here is where I learned a lot.

start with the central spray like this.


Then you'll add a different type of splash particle. It's all about layering. Everything looks better with a few layers of different content.


Once the splashes are in place, you'll want a flash of red rubber to bridge the gap of the balloon disappearing.


Once all of the pieces are looking ok, you can put them together. (make sure to place them under each other in a hierarchy and simulate in world space so that they scale properly and they all play together at the same time - on wake).


Layering and taking the extra time to tweak your particle systems can make parts of your game stand out in a memorable, striking way. This makes a massive difference to the look of the game, for little cost.


Behavior Programming


Where to start

SteamVR has a plugin for Unity where they provide some C# example scripts that save a lot of effort and time. If you're writing your code in C# from scratch then you're wasting a lot of time. Instead I suggest altering the provided scripts to your needs. In our case we're simply taking advantage of the basic Throwable.cs and it's easy to access OnPickup() and OnDrop() events to call our own functions when the player grabs or lets go of the balloons. If you're making a VR game, you should study these scripts to understand how they're working. I go into more detail on VR interaction in the VR-Util guide.

OnPickUp() calls a behavior function called SpawnBalloon(). This is because the balloon starts and ends in a sleep/popped state where it is an invisible object in a "balloon basket" waiting to be picked up.

OnDrop() calls a behavior function called Throw(). This sets the balloon into a state where it knows that it has been thrown and it's only waiting for a collision to pop it.

Jiggle() Triggers a jiggling animation on all of the fake balloons in the bucket to make it look like you interacted with the bucket itself.

Now I'll show you some of the code as examples


Grabbing and Throwing

Spawn() and Throw()
                                    public void SpawnBalloon()
{
    popped = false; //used to keep track of if the balloon is currently in a popped state
    thrown = false; anim.SetBool(thrown_bool, false); //used keep track of if the balloon is in a thrown state and the same thing but for the animator's use
    balloon_renderer.enabled = true; //Show the balloon 
    pop.SetActive(false); //deactivate popping so that it can be reactivated and "play on awake"
}

public void Throw()
{
    thrown = true; //used to keep track of if the balloon is currently in a thrown state
    anim.SetBool(thrown_bool, true); //same thing but for the animator
    anim.SetBool(smoothside_bool, false); //make sure balloon is not sloping to one side or another while thrown
    anim.SetBool(knotside_bool, false); // ||

    rb.isKinematic = false; //let the physics engine move the balloon non-kinematically 
    rb.angularVelocity = Random.insideUnitSphere * rb.velocity.sqrMagnitude/10f; //give it some random spin, this is satisfying
}
                                

Popping correctly

Pop()
                                    private void OnTriggerEnter(Collider col)
{
    if (!popped && thrown) //on collision, check whether or not balloon is in a poppable state
    {
        popped = true; thrown = false; anim.SetBool(thrown_bool, false); //update what state the balloon is in with bools and the animator
        StartCoroutine(Pop()); //we use a coroutine, this is just an asynchronous function that allows us to pop and then move the object when the balloon is finished popping.
        RecieveDamage rd = col.GetComponent(); //this looks for a script that would indicate that this is an enemy or destructible object.
        if (rd) { rd.Damage(); }
    }

}

IEnumerator Pop()
{
    pop.SetActive(true); //
    popsound.Play();
    yield return null;

    rb.isKinematic = true;
    rb.velocity = Vector3.zero;
    rb.angularVelocity = Vector3.zero;
    balloon_renderer.enabled = false;

    yield return new WaitForSeconds(1f);

    this.transform.position = barrel_script.balloon_slot.transform.position;
}
                                

Below you can hear the audio sound that is played. Satisfying.

jiggling with animation layers

Interaction with the SteamVR Plugin for holding/sloping/jiggling


pic

haptics - vibrations, sounds, jiggling

interaction with other objects, respawn

Take it a step further - Damage Transfer